french anti-tank artillery pdf
Category : PDF
French anti-tank artillery in WWII included the 25mm Hotchkiss and 47mm Model 1937, designed to counter evolving armored threats․ These weapons played a critical role in French defenses, despite limitations in design and production challenges, highlighting the rapid adaptation of military technology during the conflict․
Overview of French Anti-Tank Artillery Development
French anti-tank artillery development during World War II was driven by the need to counter evolving armored threats․ The 25mm Hotchkiss and 47mm Model 1937 emerged as primary systems, with the latter adapted from naval artillery․ Early designs like the 25mm Hotchkiss were lightweight and portable, suitable for infantry use, but struggled against thicker armor․ The 47mm Model 1937, though more potent, faced production delays and logistical challenges․ Development emphasized rapid deployment and adaptability, reflecting lessons from earlier conflicts․ Despite limitations, these weapons formed the backbone of French anti-tank defenses, showcasing a blend of innovation and pragmatic design․ Their evolution highlights the broader challenges of military modernization under wartime pressures․
Key Weapons: 25mm Hotchkiss and 47mm Model 1937
The 25mm Hotchkiss and 47mm Model 1937 were France’s primary anti-tank weapons in WWII․ The 25mm Hotchkiss, a lightweight infantry support gun, was effective against early-war armor but struggled with thicker armor later on․ Its portability and low production cost made it widely deployed․ The 47mm Model 1937, adapted from naval artillery, offered greater firepower but faced production delays and logistical issues․ Both weapons were critical to French defenses, yet their limitations became apparent as German armor advanced․ These guns represented France’s efforts to balance mobility and firepower, though their effectiveness waned as the war progressed and enemy armor improved significantly․
Historical Context and Deployment
The deployment of 25mm Hotchkiss and 47mm Model 1937 guns marked France’s strategic response to evolving armored threats, despite production and logistical challenges affecting their overall impact․
The Role of Anti-Tank Artillery in French Military Strategy
French anti-tank artillery played a pivotal role in their military strategy during WWII, aiming to counter the rapid advancement of German armor․ The 25mm Hotchkiss and 47mm Model 1937 guns were central to this effort, designed to disrupt enemy tank formations and protect infantry units․ However, the strategy faced challenges due to inadequate production and logistical issues, which limited their effectiveness․ Despite these constraints, anti-tank artillery remained a critical component of French defenses, emphasizing the need for adaptability in the face of superior enemy armor and the evolving nature of modern warfare․
International Use: Finland’s Acquisition of French 25mm Guns
Finland’s acquisition of French 25mm anti-tank guns during the Winter War highlights their international use․ Facing a heavily armored Soviet force, Finland sought to bolster its defenses by purchasing these weapons․ Despite initial hopes for 50 guns, only 40 were delivered via Norway before the war’s end․ The 25mm guns proved effective against Soviet tanks in harsh winter conditions, demonstrating their adaptability․ This acquisition underscores the global demand for anti-tank weaponry and the challenges of wartime logistics․ Finland’s use of French guns offers insights into the broader context of military cooperation and the strategic importance of such weapons in combating armored threats during WWII․
Design and Technical Specifications
The French 25mm Hotchkiss and 47mm Model 1937 anti-tank guns featured lightweight designs and naval artillery origins, though production delays and caliber limitations impacted their battlefield effectiveness․
The 25mm Hotchkiss Anti-Tank Gun: Design and Limitations
The 25mm Hotchkiss anti-tank gun was a lightweight, portable weapon designed for infantry use, developed as an improvement over the earlier 1934 model․ Its compact design allowed for easy transport, often carried on trucks due to its weight, which made it unsuitable for towing․ Despite its portability, the gun’s small caliber limited its effectiveness against thicker armor, becoming obsolete as German tanks evolved․ Production challenges and limited ammunition supply further constrained its impact․ Finland acquired a small number of these guns, highlighting their international use․ The Hotchkiss gun’s design balanced mobility and firepower but ultimately struggled to meet the demands of modern armored warfare during WWII․
The 47mm Model 1937: Origins in Naval Artillery and Production Challenges
The 47mm Model 1937 anti-tank gun originated from naval artillery designs, adapted for land use to counter armored threats․ Its development faced delays due to design refinements and production issues, limiting its availability during the early stages of the war․ Despite these challenges, it became a standard anti-tank weapon for French forces, offering improved penetration capabilities compared to the 25mm Hotchkiss․ However, production delays and ammunition shortages hindered its widespread deployment․ The gun’s effectiveness waned as German tanks’ armor thickened, yet it remained a key component of French defenses․ Its design and production struggles reflect broader logistical and industrial challenges faced by France during WWII, impacting its overall contribution to the war effort․
Combat Effectiveness and Limitations
French anti-tank artillery faced significant combat limitations due to production delays and ammunition shortages․ Its effectiveness waned as German tanks’ armor improved, exposing vulnerabilities in French defenses during WWII․
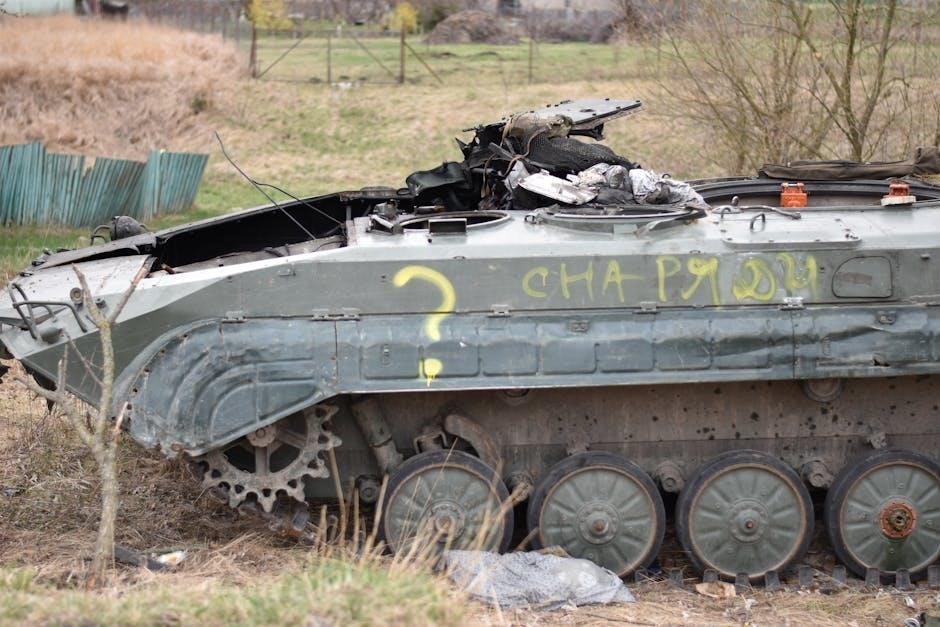
Performance Against German Armor
The French 25mm Hotchkiss and 47mm Model 1937 anti-tank guns initially showed promise against lighter German armor but struggled as thicker armor became prevalent․ The 25mm gun’s smaller caliber limited its effectiveness, often failing to penetrate frontal armor of later German tanks․ The 47mm Model 1937, while more capable, still faced challenges against heavily armored vehicles like the Panzer III and IV․ Design limitations, such as fixed ammunition types and lack of adaptability, further hindered their performance․ As German tank designs evolved, French anti-tank guns became increasingly obsolete, exposing vulnerabilities in their ability to counter advancing armor during key battles․ This shortfall underscored the urgent need for more advanced weaponry․
Logistical and Production Challenges
The production of French anti-tank guns, particularly the 47mm Model 1937, faced significant delays due to design refinements and manufacturing limitations․ Industrial capacity was strained, hindering mass production and timely delivery to frontline units․ Ammunition shortages further exacerbated these issues, as the supply chain struggled to meet demand․ Additionally, the decentralized nature of French production and the rapid German advance during the Battle of France disrupted logistics․ These challenges meant that many anti-tank units were understrength or poorly equipped, undermining their effectiveness․ The combination of production bottlenecks and logistical failures severely impacted the French Army’s ability to counter German armor during critical phases of the war․
Adaptation and Evolution
French anti-tank artillery evolved from naval origins, with modifications like carriage adjustments for land use, reflecting pragmatic adaptations to counter emerging armored threats during WWII․
Naval Artillery Adaptations for Land Use
The French adapted naval artillery designs for anti-tank use, leveraging existing technology to expedite production․ The 47mm Model 1937, originally designed for naval purposes, was modified for land deployment․ Its robust construction and precision made it suitable for anti-tank roles, with adjustments to its carriage and recoil mechanisms․ This adaptation reflected a pragmatic approach to addressing the rapid evolution of armored threats․ While the conversion proved effective, production delays limited its widespread deployment․ The use of naval artillery as a basis for anti-tank weapons highlights the French military’s resourcefulness amid wartime constraints․ This approach allowed for quicker fielding of capable systems, though it also revealed limitations in design and production capacity․

Modifications for Anti-Tank Warfare
French anti-tank guns underwent significant modifications to enhance their effectiveness․ The 25mm Hotchkiss and 47mm Model 1937 were adapted with improved carriages, recoil mechanisms, and ammunition․ These changes aimed to optimize performance against armored targets․ The 47mm gun, originally a naval piece, was fitted with a new carriage for land use, improving its mobility․ Ammunition advancements included armor-piercing rounds to counter thicker armor․ Despite these modifications, limitations persisted, particularly against heavily armored German tanks․ The adaptations demonstrate France’s efforts to keep pace with evolving battlefield demands, though production challenges hindered widespread implementation․ These modifications were crucial in extending the service life of existing designs, ensuring they remained relevant in the face of advancing technology․
Additional French Artillery Systems
Beyond anti-tank weapons, France utilized the iconic Canon de 75 mm Model 1897 for field artillery and developed self-propelled systems․ Anti-aircraft guns also played key roles in defense․
The Canon de 75 mm Model 1897: Its Role Beyond Anti-Tank Warfare
The Canon de 75 mm Model 1897, renowned for its accuracy and rapid firepower, served primarily as a field gun, excelling against infantry and light targets․ Its hydraulic recoil system allowed consistent performance, making it a cornerstone of French artillery in both World Wars․ While not specifically designed for anti-tank warfare, its versatility enabled its use against lightly armored vehicles․ However, the emergence of heavily armored tanks in WWII exposed its limitations, prompting the development of dedicated anti-tank weapons․ Its legacy endures as a foundational artillery piece, with extensive documentation in historical records and military archives detailing its enduring impact on French artillery tactics․
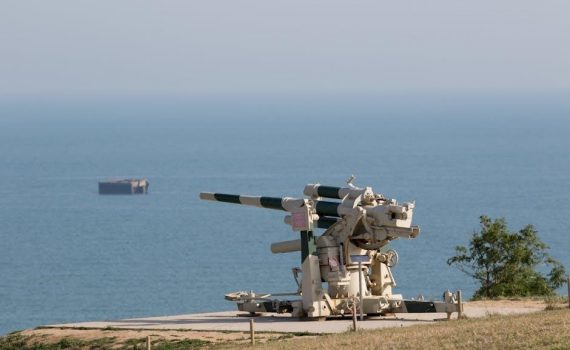
Self-Propelled Artillery and Anti-Aircraft Systems

France explored self-propelled artillery during WWII, adapting existing guns like the Canon de 75 mm onto tank chassis for mobility․ Despite early experimentation, deployment was limited due to reliability issues and vulnerability to counter-battery fire․ Anti-aircraft systems also played a role, though details remain less documented․ These innovations reflected broader trends in mechanized warfare, aiming to enhance battlefield flexibility and responsiveness․ While not as central to French anti-tank efforts, self-propelled and anti-aircraft systems contributed to overall artillery capabilities, with further research needed to fully understand their impact and operational history during the conflict․
French anti-tank artillery in WWII left a lasting legacy, with lessons learned influencing post-war designs․ Its historical significance underscores the rapid evolution of military technology during conflict․
Lessons Learned and Impact on Future Developments
The French anti-tank artillery experience in WWII provided critical lessons for future military developments․ The limitations of the 25mm Hotchkiss and 47mm Model 1937 highlighted the need for more powerful and adaptable anti-tank weapons․ These insights influenced post-war designs, emphasizing mobility, firepower, and production efficiency․ The challenges faced by French artillery, such as production delays and inadequate penetration against advanced armor, drove innovation in subsequent anti-tank systems․ These lessons also underscored the importance of logistical coordination and industrial capacity in sustaining warfare efforts․ The legacy of French anti-tank artillery serves as a cornerstone for understanding the evolution of modern anti-tank weaponry and strategic planning․
Historical Significance of French Anti-Tank Artillery
French anti-tank artillery in WWII holds significant historical value as it reflects the rapid evolution of military technology and doctrine․ The development and deployment of weapons like the 25mm Hotchkiss and 47mm Model 1937 showcase France’s efforts to adapt to the growing threat of armored warfare․ Despite challenges in production and effectiveness, these systems demonstrated innovation and resourcefulness․ Their limitations also highlighted the importance of industrial capacity and strategic planning․ The international use of French anti-tank guns, such as by Finland, underscores their global impact․ These artillery pieces serve as a testament to the complexities of wartime innovation and the enduring legacy of French military engineering during the 20th century․