csd activity guide
Category : Guide
Welcome to the Cosumnes Community Services District (CSD) Activity Guide‚ your go-to resource for recreational programs‚ events‚ and services in Elk Grove and Galt.
Overview of the Cosumnes Community Services District (CSD)

The Cosumnes Community Services District (CSD) is a regional leader in providing exceptional parks‚ recreation‚ fire protection‚ and emergency medical services to the Elk Grove and Galt communities. Committed to enriching lives‚ the CSD manages over 104 parks‚ trails‚ and recreational facilities‚ offering diverse programs for all ages. Its mission is to enhance quality of life through innovative services‚ ensuring safe‚ vibrant‚ and inclusive spaces for residents and visitors alike. The district’s dedication to community well-being makes it a cornerstone of local development and engagement.
Purpose and Scope of the Activity Guide
The CSD Activity Guide serves as a comprehensive resource for residents‚ outlining recreational programs‚ events‚ and services offered by the Cosumnes Community Services District. Published three times annually‚ it provides detailed information on activities‚ registration dates‚ and facility access. The guide aims to promote community engagement‚ health‚ and wellness by offering diverse programs for all ages and interests. From sports and arts to aquatic activities and seasonal events‚ the guide helps residents plan and stay informed about opportunities to enrich their lives through CSD services.

Registration Information
Registration for CSD programs is streamlined with online options and in-person services. The Activity Guide is published three times yearly‚ offering convenient access to class sign-ups.
Registration Dates for Summer 2025
Summer 2025 registration begins on Tuesday‚ April 15‚ for EDH residents‚ and Tuesday‚ April 29‚ for non-residents and Rolling Hills CSD residents. These dates ensure residents can plan ahead for camps‚ sports‚ and enrichment programs. The Activity Guide‚ published in April‚ provides a detailed schedule of offerings‚ allowing families to explore options for youth‚ teens‚ and adults. Early registration is encouraged to secure spots in popular programs.
Methods of Payment Accepted
The Cosumnes Community Services District (CSD) accepts various payment methods for program registrations and facility rentals. These include Visa‚ MasterCard‚ American Express‚ and Discover/Diners Club. Payments can be made online through the CSD registration portal or in person at designated facilities. This variety of payment options ensures convenience and accessibility for all participants. For more information‚ contact CSD at 916-405-5600 or visit their website. The district is committed to making recreational and community services accessible to everyone.
Online vs. In-Person Registration
The Cosumnes Community Services District (CSD) offers both online and in-person registration options for convenience. Online registration is available 24/7 through the CSD website‚ allowing residents to securely sign up for programs and classes from home. In-person registration is also available at designated CSD facilities‚ providing assistance for those who prefer face-to-face support. Both methods ensure efficient processing‚ with online registration offering immediate confirmation and in-person registration providing direct staff assistance. Choose the method that best fits your needs to enroll in CSD programs seamlessly.
Types of Activities Offered
The CSD offers a diverse range of activities‚ including recreational sports‚ fitness classes‚ arts‚ crafts‚ aquatic programs‚ and special events for all ages and skill levels.
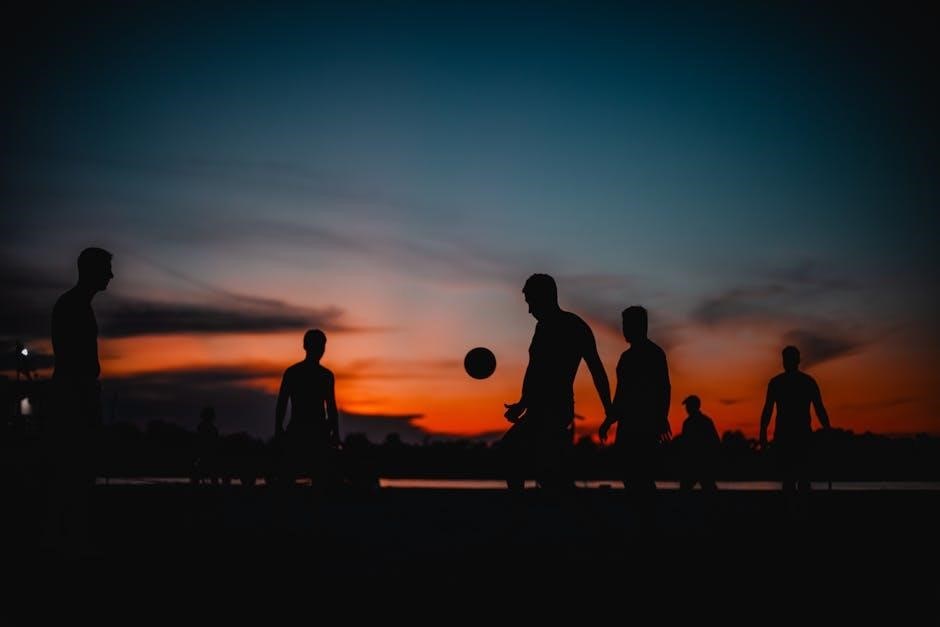
Recreational Sports and Fitness Classes
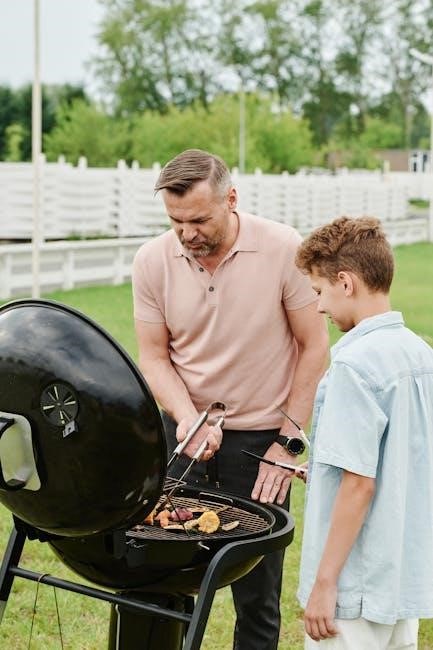
The CSD offers an array of recreational sports and fitness classes designed for all ages and skill levels. Programs include dance‚ gymnastics‚ martial arts‚ swimming‚ and team sports like basketball and soccer. Fitness classes range from yoga and Pilates to high-intensity interval training (HIIT) and cardio workouts. These activities promote physical health‚ social interaction‚ and personal growth. Whether you’re a beginner or an experienced athlete‚ there’s something for everyone to stay active and engaged in a fun‚ supportive environment.
Arts‚ Crafts‚ and Enrichment Programs
The CSD offers a diverse range of arts‚ crafts‚ and enrichment programs for all ages. From painting and pottery to cooking classes and theater workshops‚ these activities foster creativity and learning. Programs are designed to engage children‚ teens‚ and adults‚ with options like science projects‚ craft workshops‚ and cultural enrichment; These classes provide a platform for self-expression‚ skill development‚ and social connection‚ ensuring there’s something creative and inspiring for everyone to enjoy.
Aquatic Programs and Swimming Facilities
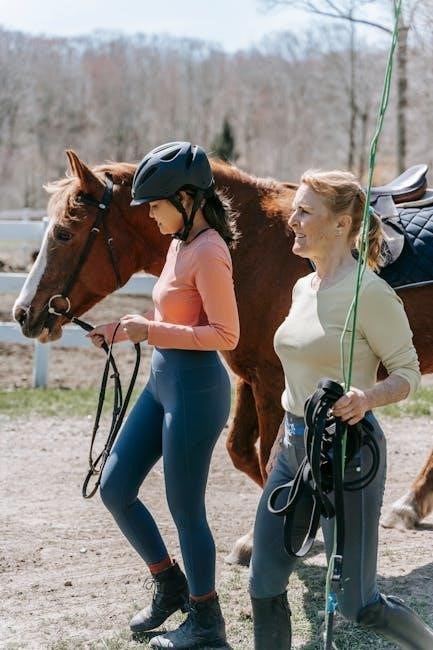
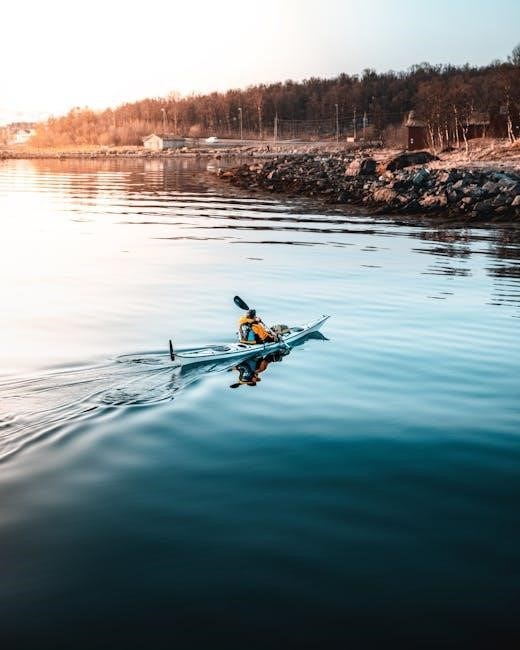
The Cosumnes CSD offers a variety of aquatic programs and state-of-the-art swimming facilities for all ages. From beginner swim lessons for children to advanced training for competitive swimmers‚ the programs cater to diverse skill levels. Water aerobics‚ lap swimming‚ and recreational pool time are also available. The facilities include multiple pools with lap lanes‚ diving boards‚ and family-friendly areas. Lifeguard training and water safety classes are provided‚ ensuring a safe and enjoyable experience for everyone. These programs promote physical fitness‚ skill development‚ and community engagement in a fun and aquatic environment.

Seasonal Activity Guides
The CSD Activity Guide is published three times annually‚ covering spring/summer‚ fall/winter‚ and holiday programs. Each guide offers a variety of activities for all ages and interests.
Spring/Summer 2025 Activity Guide
The Spring/Summer 2025 Activity Guide offers a wide range of recreational programs‚ sports‚ arts‚ and enrichment activities for all ages and interests.
From swimming sessions to group fitness classes‚ and from youth day camps to senior social events‚ this guide provides something for everyone. Registration begins on April 15 for Elk Grove residents and April 29 for non-residents‚ with payment options including Visa‚ MasterCard‚ and American Express.
Explore seasonal highlights‚ such as holiday camps‚ family-friendly events‚ and outdoor activities‚ designed to enhance community life and well-being.
Fall/Winter 2025 Activity Guide
The Fall/Winter 2025 Activity Guide presents a diverse lineup of programs tailored for the cooler seasons‚ offering something for every age and interest.
From indoor fitness classes and arts and crafts workshops to seasonal holiday events and senior enrichment programs‚ this guide helps residents stay active and engaged during the fall and winter months.
Published in August‚ the guide includes details on registration timelines‚ facility rentals‚ and special events‚ ensuring a vibrant and connected community throughout the year.
Holiday Special Events and Camps
The Cosumnes CSD offers festive holiday events and camps designed for all ages to enjoy the spirit of the season.
These programs include themed crafts‚ seasonal sports‚ and interactive workshops‚ providing fun and engaging activities during school breaks and holidays.
From winter wonderland camps to holiday-themed art sessions‚ the CSD ensures a joyful experience for families and individuals alike‚ fostering community connection and seasonal cheer.
Youth and Teen Programs
CSD offers engaging activities for youth and teens‚ including sports‚ arts‚ and educational programs‚ fostering growth and fun in a supportive environment.
Day Camps and Summer Programs
CSD offers exciting day camps and summer programs for youth‚ featuring arts‚ crafts‚ sports‚ and educational activities. Designed for ages 5-12‚ these camps provide a safe‚ engaging environment with skilled staff. Programs include science projects‚ cooking‚ and outdoor games‚ fostering creativity and physical activity. Full-day and half-day options are available‚ with extended care for working parents. Themes vary weekly‚ ensuring a diverse and fun experience. Registration opens in spring‚ with discounts for early sign-ups. Check the Activity Guide for schedules‚ fees‚ and locations to secure your spot today!
Teen-Specific Activities and Workshops
CSD offers a variety of teen-specific activities and workshops designed to engage and inspire. Programs include recreational sports‚ art projects‚ and STEM workshops tailored to teen interests. Leadership development‚ community service opportunities‚ and skill-building sessions are also available. These activities foster social connections‚ creativity‚ and personal growth. Teens can stay active with sports leagues or explore new hobbies in a supportive environment. Check the Activity Guide for schedules‚ descriptions‚ and registration details to find the perfect program for your teen!
Adult and Senior Programs
CSD provides diverse programs for adults and seniors‚ including fitness classes‚ sports leagues‚ and enrichment activities. These offerings promote physical health‚ social interaction‚ and lifelong learning.
Adult Sports Leagues and Fitness Classes
CSD offers a variety of adult sports leagues and fitness classes designed to promote health and wellness. From team sports like basketball and soccer to fitness classes such as yoga and Pilates‚ there’s something for every interest and fitness level. These programs provide opportunities to stay active‚ build skills‚ and connect with others in the community. Seasonal offerings ensure year-round engagement‚ while specialized classes cater to diverse preferences and goals. Whether you’re aiming to improve physical health or simply enjoy recreational activities‚ CSD’s adult programs are a great way to stay involved and active.
Senior Enrichment and Social Activities
CSD provides a range of senior enrichment and social activities designed to foster community connections and personal growth. Programs include fitness classes‚ educational workshops‚ and social events tailored to seniors’ interests. These activities aim to promote physical health‚ mental stimulation‚ and emotional well-being. From art classes to group outings‚ seniors can engage in meaningful experiences that enhance their quality of life. CSD also offers support services and resources to ensure seniors stay active‚ informed‚ and connected within their community.
Special Events and Rentals
CSD offers a variety of special events and rental options for community gatherings‚ festivals‚ and celebrations. Rent facilities and parks to make your event unforgettable.
Community Events and Festivals
Cosumnes CSD hosts a variety of community events and festivals throughout the year‚ offering something for everyone. From outdoor concerts and cultural celebrations to seasonal festivities like summer fairs and holiday parades‚ these events foster connection and fun. Activities often include live music‚ food vendors‚ and interactive experiences for all ages. Check the Activity Guide for details on upcoming events‚ ensuring you don’t miss out on the excitement. These gatherings are perfect for families‚ friends‚ and neighbors to come together and enjoy the community spirit.
Facility and Park Rental Information
Cosumnes CSD offers a variety of facilities and parks available for rent‚ perfect for private events‚ celebrations‚ or community gatherings. From picnic areas and sports fields to indoor spaces‚ there are options to suit every need. Rentals include access to amenities like playgrounds‚ BBQ areas‚ and sports equipment. Visit the CSD Activity Guide for details on pricing‚ availability‚ and reservation procedures. Make your event unforgettable by hosting it in one of Elk Grove and Galt’s beautiful parks or facilities.